This is a tutorial for replacing the screen of the iPhone 11. The iPhone XR can also refer to this, including other models in the X series, as they are basically all similar. First, we need to turn off the phone. If the phone cannot be turned off due to touch issues, it doesn’t matter—it won’t affect the process. Then, use the bottom screwdriver. Remember, these are Pentalobe screwdrivers—make sure not to mix them up.
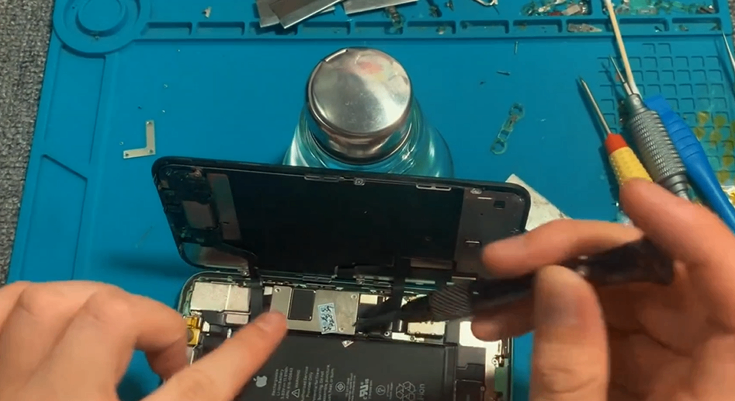
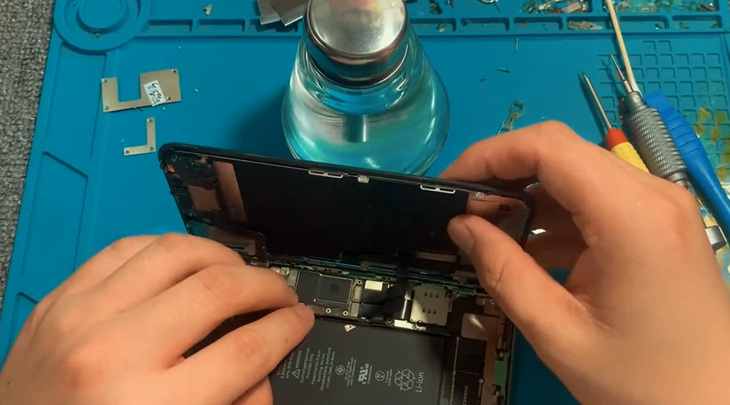
The ones we provide are labeled as Pentalobe screwdrivers. Press down firmly and tighten them. Next, use a blade. Of course, everyone has different habits—you can use a blade or a suction cup. First, gently pry open the edges. Once it’s slightly lifted, use our pry tool to insert it into the gap. Okay, that’s it. After opening, remember to hold it at a 90-degree angle—don’t lay it flat.
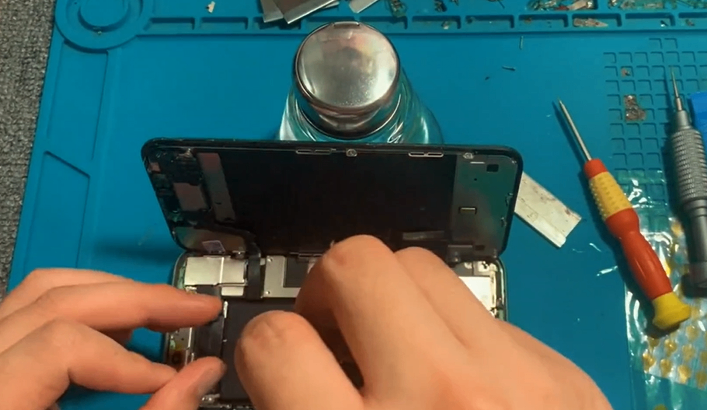
Laying it flat may strain the flex cables and sensors. Normally, we provide adhesive stickers—make sure to stick them over the camera area to avoid damaging the Face ID module. If it gets damaged, it’s not worth it. Of course, experienced technicians may not use them, which is also fine. Just a reminder. If you find it difficult to unscrew the screws, I’ll tell you a trick: you can use a cup or something heavy to prop up the phone on the table, with the screen leaning against it.
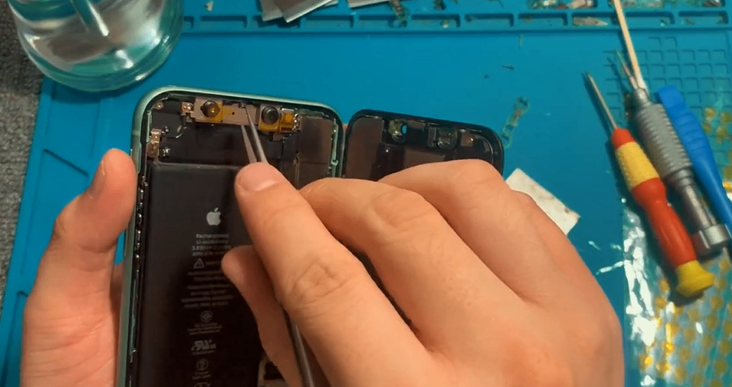
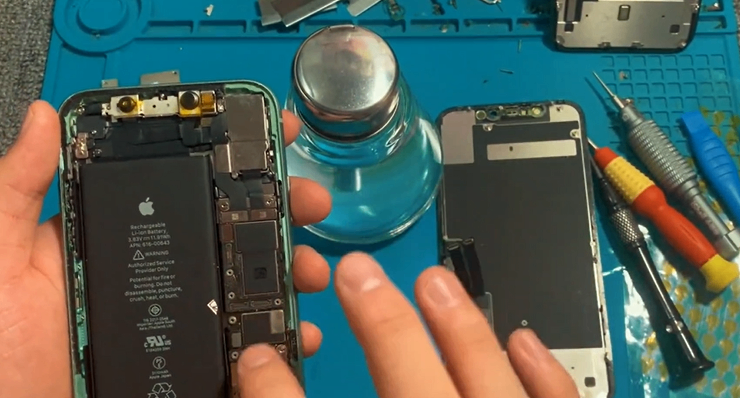
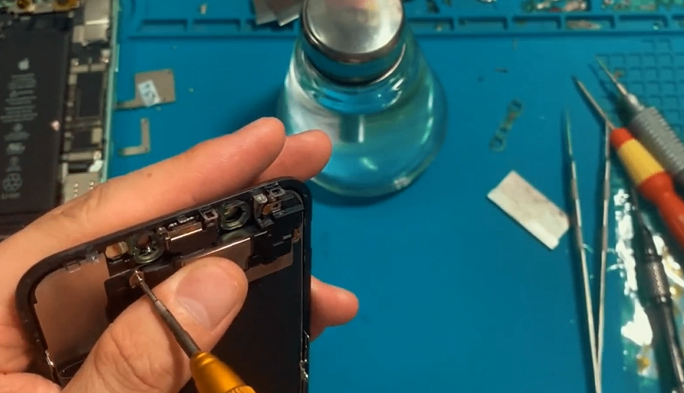
That should work. Then, find a tri-point screwdriver. Use the tri-point screwdriver to remove the small screws. For the iPhone 11, the screws on the top are all the same size, so you can place them together. Also, remember to disconnect the battery flex cable. You can use your fingernail or a pry tool to disconnect the battery flex cable first. After disconnecting the battery, you can lift it. The battery flex cable is here—the small flex cable extending from the battery.
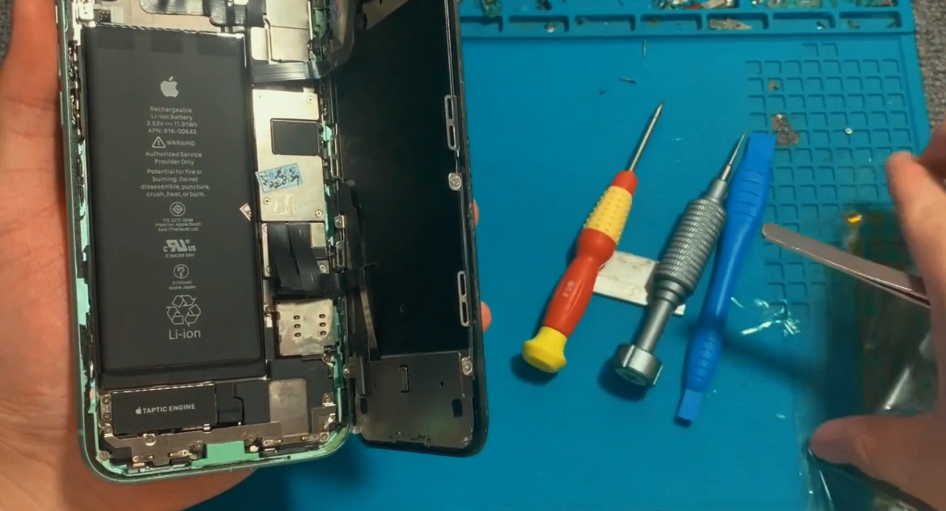
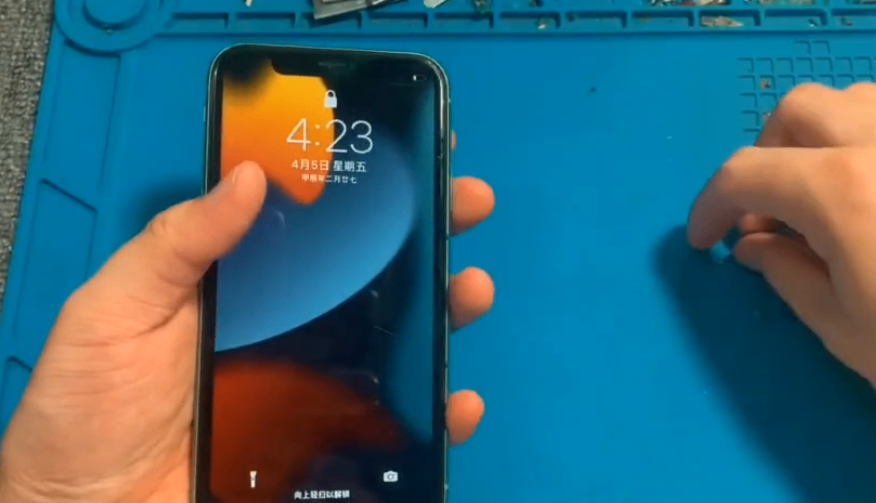
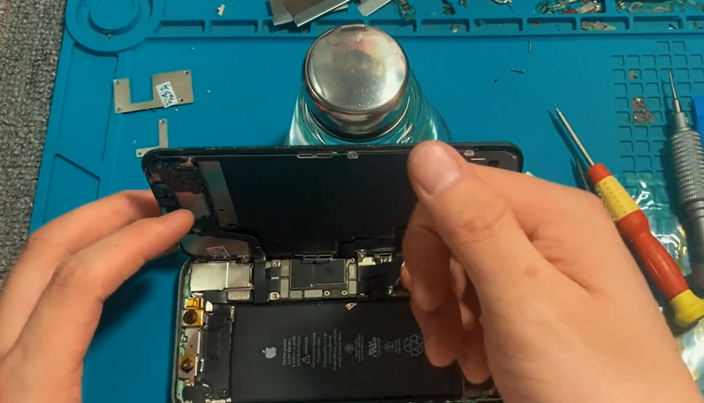
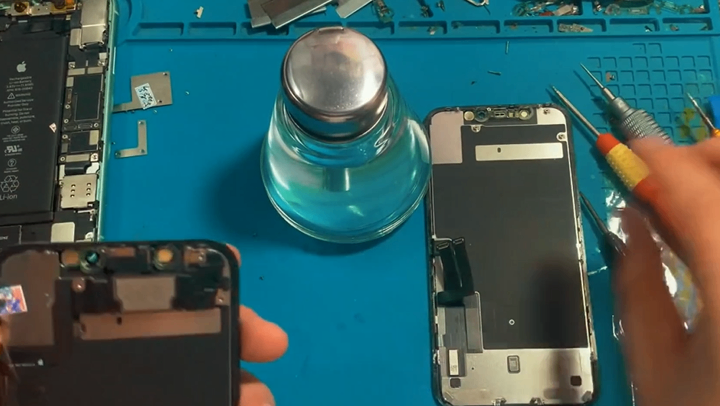
See this small flex cable? Make sure to disconnect the battery for safety. Then, remove the screen flex cable and sensor flex cable. Okay, it’s all disconnected. Next, take out the new screen and first connect the screen flex cable to the motherboard, then connect the battery flex cable to power the motherboard. Turn on the phone to test the display and touch functionality. If everything is okay, you can install the sensor flex cable onto the screen.
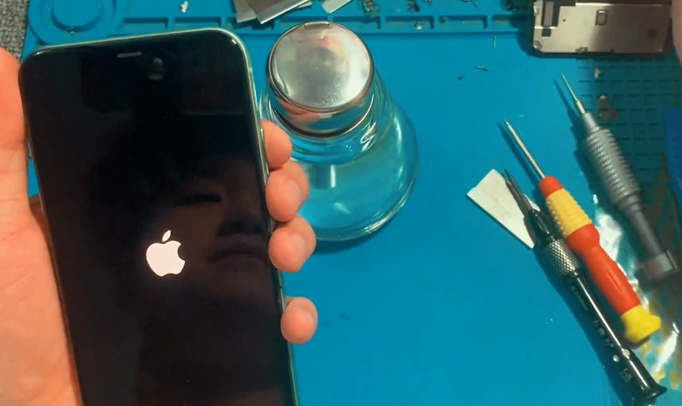
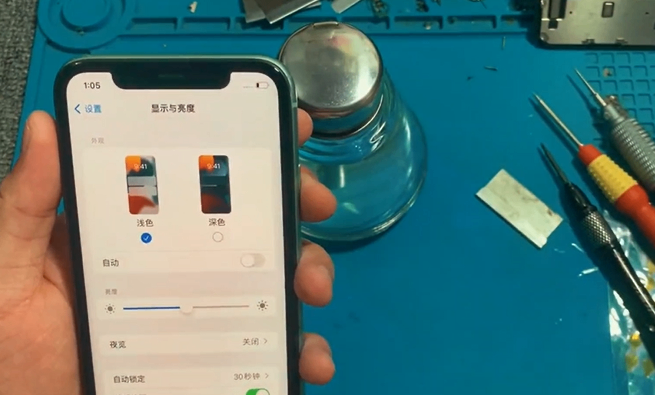
You must use the original sensor flex cable and earpiece. If you don’t, you won’t have Face ID, and True Tone won’t work either—it relies on this. First, check the display. Go to Settings, then Display & Brightness, and switch to Light Mode to check for dust or white bright spots. Then, switch to Dark Mode to check for any abnormal colors like red or green. If there are none, test the touch functionality.
Hold down an app icon and swipe across the entire screen—make sure every part of the screen responds. If it does, the touch functionality is fully compatible. If the touch works, it means the screen is compatible with the motherboard. Now, you can turn off the phone or disconnect the battery. Remember to disconnect the battery flex cable first, then remove the other flex cables.
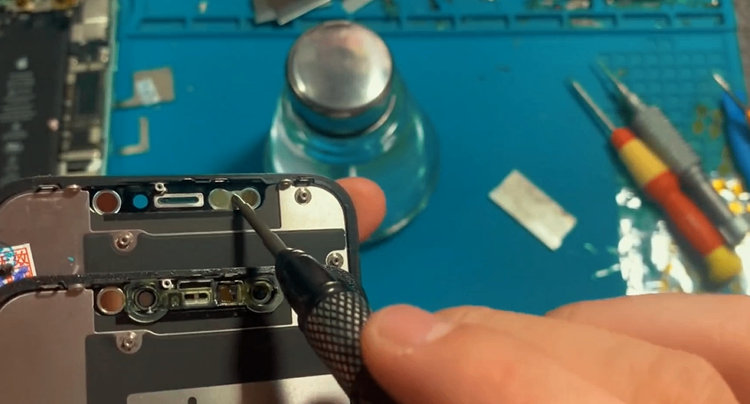
When installing the flex cables, install the screen flex cable first, then the sensor flex cable, and finally the battery flex cable. Always connect the power last—never install flex cables while the power is connected, as it may damage the motherboard or screen. The sensor flex cable uses tri-point screws, while the three larger ones are Phillips screws. Make sure not to mix them up. You can arrange them in order.
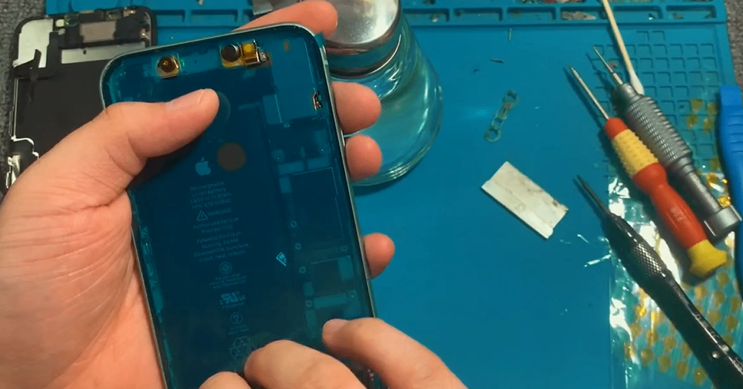
This screen is a refurbished one—see, it’s different from the original or genuine used screens. The color is different. Even though this is a 1:1 original-like screen with similar craftsmanship, the glass is replaced. You can tell from this area. Although it has a small Apple logo, it doesn’t have the original adhesive marks. So, this is a refurbished screen, but it’s the best refurbished screen available.
Unlike ours, which not only has foam pads but also original adhesive marks. Now, remove the original components. Some people might say this is difficult to remove. Let me show you how. For refurbished screens like this, you can gently pull it off. After removing it, there’s a speaker here with some adhesive. Make sure to press it firmly—this area, right here. Press it firmly to make it easier to remove.
See, this black area has some adhesive. Now, since our screen comes with a lens ring pre-installed, just align it properly. Once it’s in place, tighten the screws. This is the smallest tri-point screw. For the iPhone XR, as well as the iPhone X, XS, and XS Max, it’s basically the same—this area uses the smallest tri-point screw, and the remaining three are Phillips screws.
As for how to tell if a screen is an original used one or a refurbished one, we’ll have a video on that later. If you need to see it, you can contact our customer service for the video. Of course, if you really can’t tell, you can take it to a repair shop and ask a technician to check. Before installing, check for any dust or small screws inside. If there’s dust, use a dry cotton swab to clean it gently.
Once there’s no dust at all, you can proceed with installation. Some people care about waterproofing. Actually, no matter what phone it is, once it’s opened, it won’t be as waterproof as it was originally. But we do provide waterproof adhesive. You can clean off the original adhesive. If it’s broken, remove it. If it’s still intact, you can reuse it. This one is a bit broken, so let’s replace it.
Take out the waterproof adhesive we provided and align it with the holes. The two holes on top are on the camera side. Use a screwdriver to press it flat and tighten it. After sticking it on, use tweezers to peel off the protective film. Now, the waterproof adhesive is installed. Sometimes, if there’s too much dust, it may not stick well, so be careful when peeling. Then, install our screen.
Remember, install the screen first, then the battery flex cable—the battery flex cable is installed last, meaning the motherboard is powered last. First, install the screen flex cable, then the sensor flex cable (your Face ID flex cable). After installation, you can use a cup or something to prop it up slightly, then install the battery flex cable. Once the battery flex cable is installed, you can tighten the screws.
Make sure each screw is in its correct position. This video is quite detailed, so after watching it, you shouldn’t have many major questions. If you find it difficult to remove certain parts, you can contact our customer service for a separate video on how to remove the sensor flex cable. Some phones are having their screens replaced for the first time, so the sensor flex cable may not be as easy to remove as I showed.
You can request that video separately—there are many tricks involved. I recommend watching the video before starting. iPhones aren’t that difficult to repair—replacing a screen is quite simple. You don’t need to apply any glue or anything—just tighten the screws properly.
The iPhone XR can refer to this video, as it’s basically very similar to the iPhone 11. The main differences are the internal layout, screw positions, and flex cable positions—everything else is pretty much the same. You can lift it slightly if the screws are hard to reach.
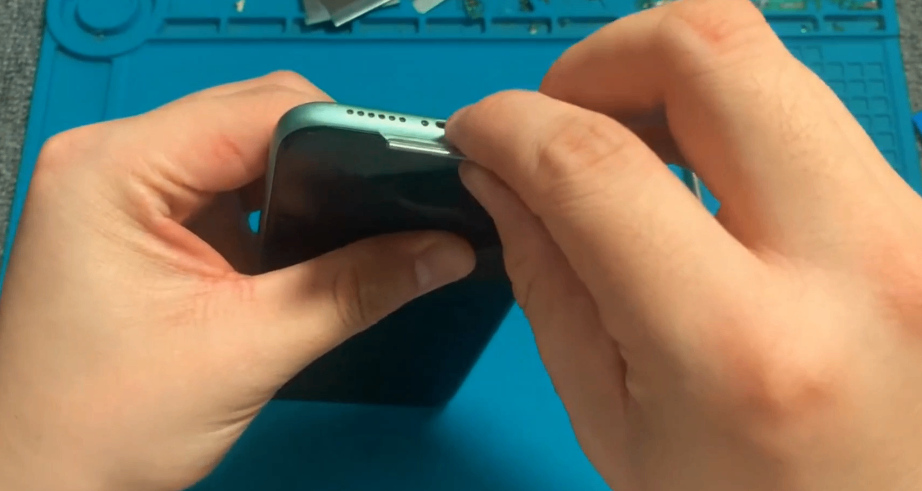
After installation, check the inside of the phone for any loose screws or foreign objects. If everything looks good, remove the protective sticker from the Face ID components. After removing it, close the screen. Always align the top first, then the right side, then the bottom, and make sure it fits properly.
Then, insert the bottom screws and tighten them firmly. Don’t tighten them too gently, as the screws are quite hard and may strip easily. That’s it—now it’s replaced. Check if all four sides are pressed down properly. If they are, it’s done.
Now, you can apply a screen protector and use it as normal. If there’s anything you don’t understand, feel free to contact us. We also have specific tutorials for certain steps, especially for removing the top components. If you don’t know how to do it, contact our customer service for the video.